The Serverless.com site is (quite obviously, we hope) a serverless site.
The benefits to a serverless website should be pretty well-known in this crowd: cheap to run, scalable out of the box, hands-off administration. But our site isn’t just serverless—it’s a statically hosted serverless site.
Why make it static? WELL, let us count the ways:
- It’s ultra fast (everything served from a CDN)
- Provides a state-of-the-art UX
- Works offline (a la PWA standards)
- More secure
- Easier to reason about, maintain, & share code across teams
And people notice:
In sum, from one engineering team to another, we effing love this website. We want to tell you all about how we built it so that you, too, can have a website you effing love.
On we go.
How do we statically host our site?
We (shocker) use the Serverless Framework for the serverless bit. But what about the static hosting?
There are two ways (as of this posting) to statically host a site:
- Build a lot of custom stuff yourself
- Use Netlify
We chose the latter. Netlify has been getting tons of press and adoption, and it’s pretty clear why when you realize how powerful it is.
We use it for automating CI/CD & https setup, static site redirects (via _redirects file), proxied url handling, deployment notifications, and lots of other stuff we won’t go into right now because all great lists must come to an end somewhere.
Deploying a new site with Netlify
For starters, you’ll need a static site generator. To help you choose one, here is a great list of open-source static site generators.
We use Phenomic. It isn’t at the top of that list, but it’s written in React and we really like it.
Once you’ve done that, here’s how easy it is to deploy a new site with Netlify.
First off, connect it to your GitHub repo:

In the Netlify console, click “Create a new site”:

Then “OAuth with Git”:

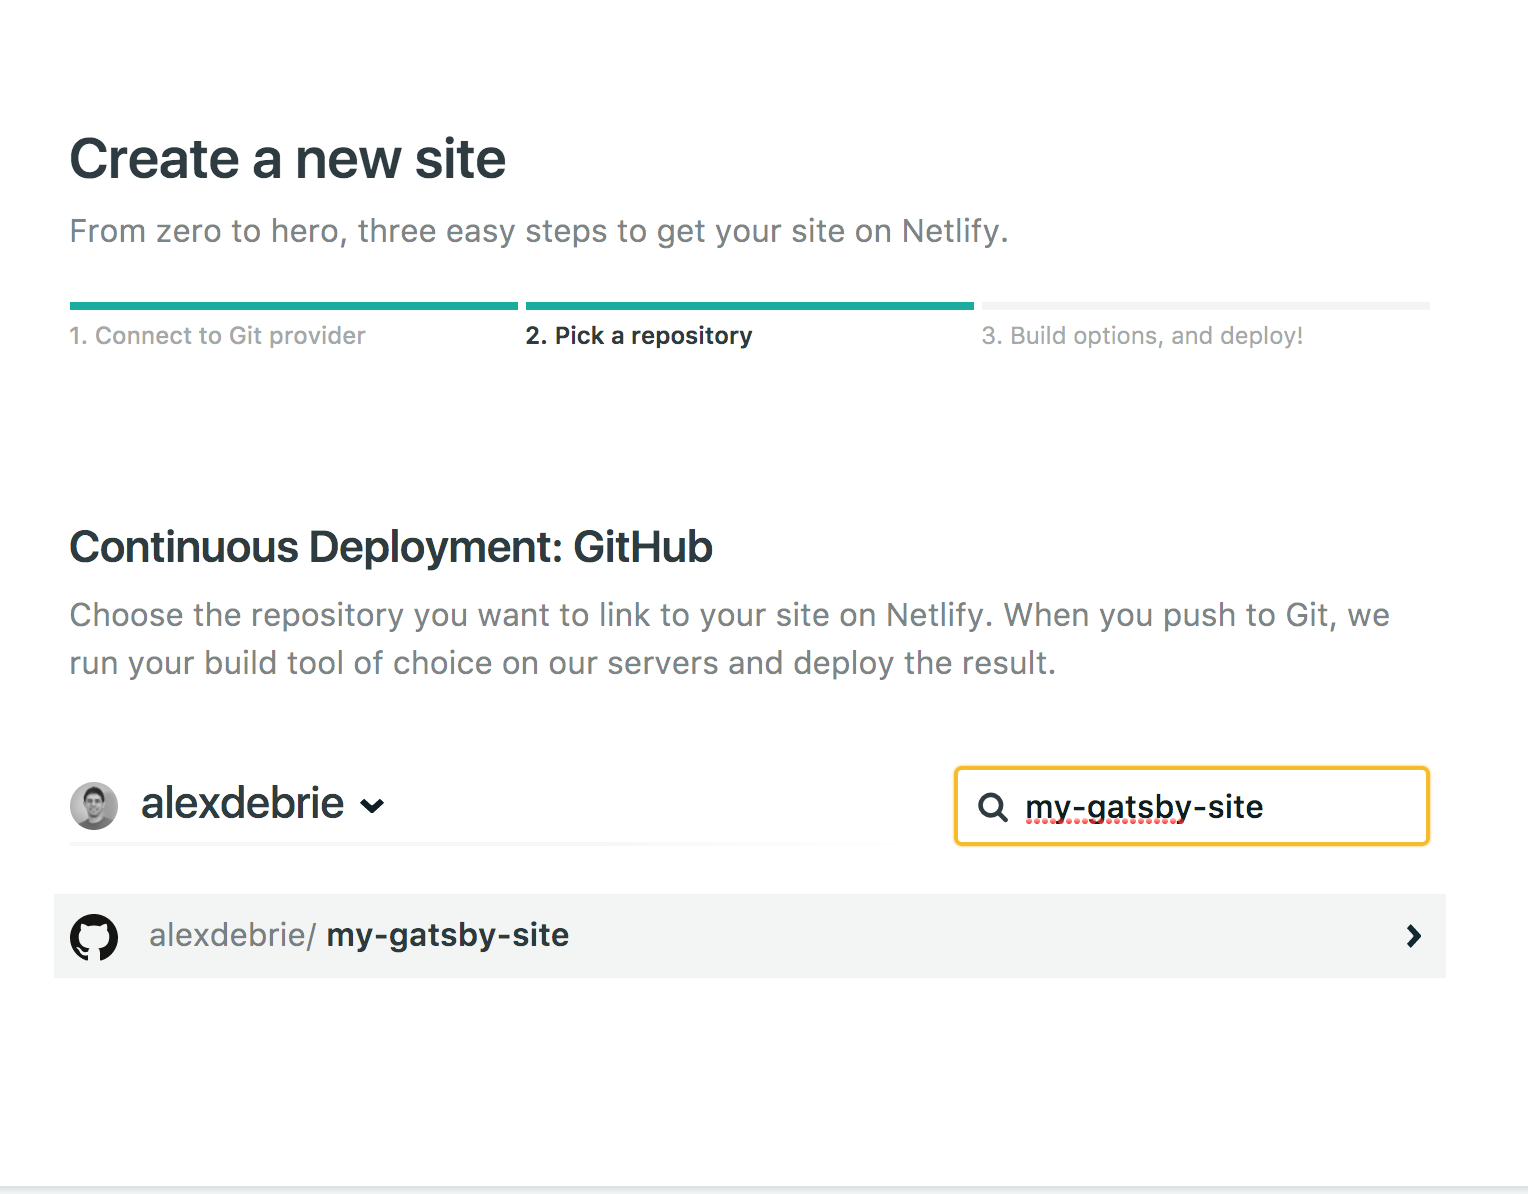
Search for the repository you want to deploy:
Build it with npm run build:

AND! (jazz hands) Your site is deployed!
Merging pull requests: builds and previews
As you submit new pull requests and update your site, Netlify can automatically trigger new builds on your behalf.
On the Serverless.com site, when we create a new branch, Netlify pings us with a GitHub comment on that branch to generate a build preview URL for us:

We use these build previews a lot to share in-progress designs and content across teams.
Once it’s good to go, we merge to master and Netlify triggers a new build.
Setting up deployment notifications
We have a dedicated Slack channel for Netlify build notifications.

This way, we can quickly see when builds succeed or fail, and also access all our latest deploy previews in one spot:
Now—build your own static serverless site!
Are you a true believer now? Do you want to build your own statically hosted serverless site?
Boy, do we have the resources for you!
We wrote a previous blog post about why and how we built a fast, secure, scalable static site with React, so you can check that out for more background.
We’ve also open-sourced everything for the Serverless.com site:
- Here’s our frontend code
- Here’s our backend code (complete with a host of slick serverless functions you can peruse)
Maybe we’re biased, but we think static serverless sites are the best. Give em a try, and happy building!