AWS Credentials
The Serverless Framework needs access to your cloud provider account so that it can create and manage resources on your behalf.
This guide is for the Amazon Web Services (AWS) provider, so we'll step through the process of setting up a connection to AWS for the Serverless Framework.
The Serverless Framework provides multiple methods to connect to AWS. However, the recommended configuration can be time consuming. Below we describe a quick way to get Serverless Framework connected to AWS securely. After that we provide the preferred configuration using multiple accounts to manage production and development deployments of your Serverless application.
- Recommended: Sign In with AWS Console
- Advanced Credential Management (AWS SSO, Profiles, Roles & More)
- Using Resolvers to Specify Deployment Credentials
- Using Serverless Dashboard Providers with IAM Role
- Production Configuration
Recommended: Sign In with AWS Console
We recommend using browser-based AWS Console authentication to generate short-lived credentials. This is more secure than long-term access keys and integrates with your existing console sign-in.
-
Run the Login Command Run the command below to authenticate with AWS:
serverless login aws -
Authenticate Complete the sign-in flow in your browser. The CLI will automatically configure your temporary credentials.
-
Deploy You are ready to go! Run your deploy command:
serverless deploy
Note: To keep your account secure, this session expires after 12 hours. If you see a "Your session has expired." error later, simply run
serverless login awsto refresh your credentials.
Using Local Credentials (manual/legacy alternative)
You can still store credentials locally in ~/.aws/credentials:
-
Run the Serverless Command: Start by running the
serverlesscommand in your terminal. This command will guide you through the process of setting up AWS credentials. -
Choose the Setup Method: During the setup, you will be presented with different options to configure your AWS credentials. Select "Save AWS Credentials in a Local Profile" if you want to store the credentials on your machine.
- If you select this option, the
serverlesscommand will prompt you to log in to your AWS account, navigate to the IAM Dashboard, and create a new IAM user with AdministratorAccess. You will then be guided to generate an Access Key and Secret Access Key for this user.
-
Enter the Credentials: After creating the IAM user, you will be prompted to enter the AWS Access Key ID and Secret Access Key that you obtained from the AWS Management Console.
-
Credentials Storage: The credentials you provide will be stored in a profile (by default, in the
~/.aws/credentialsfile) on your local machine, allowing the Serverless Framework to use them for deploying resources to AWS. -
Deployment: Once your credentials are set up and stored locally, you can proceed to deploy your services to AWS using the
serverless deploycommand. The Serverless Framework will automatically use the stored credentials for authentication.
This method offers a straightforward way to manage AWS credentials locally, ensuring that you have full control over them while still enabling the deployment of Serverless applications.
Advanced Credential Management (AWS SSO, Profiles, Roles & More)
If you prefer to manage AWS credentials using methods beyond storing long-lived credentials locally, the Serverless Framework offers robust support for various authentication strategies by leveraging the standard AWS credentials provider chain. This approach allows you to configure and use AWS SSO, environment variables, and other methods to securely authenticate your AWS deployments.
During the serverless command's onboarding process, you can choose the "Skip & Set Later (AWS SSO, ENV Vars)" option. This option lets you bypass the immediate setup of AWS credentials in a local profile, giving you the flexibility to configure your credentials using alternative methods at a later time.
The Serverless Framework fully supports the standard AWS credentials provider chain, which includes a variety of methods:
-
Environment Variables: You can set the
AWS_ACCESS_KEY_ID,AWS_SECRET_ACCESS_KEY, andAWS_SESSION_TOKENenvironment variables in your system. The Serverless Framework will automatically detect and use these credentials during deployments. -
AWS SSO (Single Sign-On): AWS SSO can be configured via the AWS CLI with the
aws configure ssocommand. Once set up, the Serverless Framework will seamlessly utilize these credentials for your deployments. -
Shared Credentials File: If you have AWS credentials stored in a shared credentials file (typically located at
~/.aws/credentials), the Serverless Framework will automatically use these credentials. -
IAM Role for EC2 Instances: When running the Serverless Framework on an EC2 instance, it can automatically use the instance’s IAM role for authentication with AWS.
-
AWS Profiles: For those managing multiple AWS accounts, profiles can be created in the
~/.aws/credentialsfile. You can specify which profile to use by setting theAWS_PROFILEenvironment variable.
The Serverless Framework leverages the AWS credentials provider chain, which sequentially attempts to retrieve your credentials from various sources. This built-in flexibility allows you to switch between different credential management strategies with ease.
For more information, refer to the AWS credentials provider chain documentation.
Using Resolvers to Specify Deployment Credentials
The Serverless Framework allows you to use Resolvers to specify deployment credentials. Resolvers supersede the traditional method of specifying AWS credentials in the provider block, such as profile and region.
AWS Resolver offers a flexible way to manage AWS credentials directly within your Serverless configuration files, leveraging the standard AWS credential provider chain methods.
Defining Resolvers
To define a Resolver in your Serverless configuration, you need to add a resolvers block within the stages section in your serverless.yml file.
Each Resolver can specify AWS credentials and other related options such as region and profile.
Here’s an example of how to define a Resolver for AWS credentials:
stages:
  default:
    resolvers:
      aws-account-1:
        type: aws
        profile: account1-profile-name
        region: us-west-2
In this setup, the aws-account-1 Resolver provides the necessary credentials and configuration options (like region and profile) for deploying the service.
For all configuration options, refer to the AWS Resolver documentation.
Using Multiple Resolvers
In scenarios where more than one AWS Resolver is specified in your configuration file, you can leverage different AWS accounts for various purposes. For example, one AWS account can be used to resolve variables (e.g., from a shared AWS account), while another can be used for the actual deployment (e.g., a project-specific AWS account).
To select which Resolver should provide the credentials for deployment, you need to use the provider.resolver property in your serverless.yml file.
This property specifies the name of the Resolver from the resolvers block that will be used for the deployment credentials.
Here’s an example configuration that demonstrates using multiple Resolvers:
service: my-service

stages:
  default:
    resolvers:
      shared-account:
        type: aws
        region: us-east-1
        accessKeyId: ${env:SHARED_ACCOUNT_AWS_ACCESS_KEY_ID}
        secretAccessKey: ${env:SHARED_ACCOUNT_AWS_SECRET_ACCESS_KEY}
      project-specific-account:
        type: aws
        region: us-west-2
        profile: project-specific-profile

provider:
  name: aws
  resolver: project-specific-account

functions:
  hello:
    handler: handler.hello
    environment:
      ACCOUNT_ID: ${project-specific-account:accountId}
      SHARED_VAR: ${shared-account:someSsmVariable}
In this example:
- The
shared-accountResolver is used to retrieve variables from a shared AWS account. - The
project-specific-accountResolver is used for deployment credentials, as specified by theprovider.resolverproperty, while you can still reference variables within your functions using this Resolver.
Note: You can't use both provider.resolver and provider.profile at the same time.
Using Serverless Dashboard Providers with Resolvers
If you are using the Serverless Dashboard Providers feature, you can still leverage Resolvers to specify deployment credentials.
When you have a Provider set up in the Serverless Dashboard, and org and app are defined in your serverless.yml file, the Resolvers will automatically use the credentials from the Dashboard Provider.
If you want to use a different set of credentials despite having a Provider configured, you can include dashboard: false in the Resolver configuration.
Here’s an example of how to use Resolvers with Serverless Dashboard Providers:
service: my-service
org: my-org
app: my-app

stages:
  default:
    resolvers:
      local-profile-account:
        type: aws
        dashboard: false
        region: us-west-2
        profile: project-specific-profile
      dashboard-provider-account:
        type: aws

provider:
  name: aws
  resolver: local-profile-account
In this example:
- The
organdappproperties in theserverless.ymlfile are used to link the service to the Serverless Dashboard Provider. - The
dashboard-provider-accountResolver uses the credentials from the Serverless Dashboard Provider. - The
dashboard: falseproperty in thelocal-profile-accountResolver configuration ensures that the credentials from the local profile are used instead of the Serverless Dashboard Provider. - The
local-profile-accountResolver uses the credentials from the local profileproject-specific-profilefor deployment. - The
provider.resolverproperty specifies that thelocal-profile-accountResolver should provide the deployment credentials.
Credential Precedence: How provider.profile and Resolvers Interact
When configuring AWS credentials with the Serverless Framework, it's essential to understand how provider.profile and provider.resolver interact with each other:
-
You cannot define both
provider.profileandprovider.resolverat the same time in yourserverless.ymlfile. Attempting to do so will result in an error. You must choose one of these options. -
If neither
provider.profilenorprovider.resolverare set, but a single Resolver is defined, that Resolver will be automatically used for AWS credential resolution during deployment. -
If
provider.profileis set, and there is only one Resolver defined, theprovider.profilesetting takes precedence and will be used for the deployment credentials, ignoring the defined Resolver. -
When multiple Resolvers are defined in your configuration, you must set
provider.resolverto specify which Resolver should be used for deployment credentials. Failure to do so will lead to a configuration error, as the framework cannot automatically determine which Resolver to use.
Using Serverless Dashboard Providers with IAM Role
If you want a quick way to get Serverless Framework connected to your AWS account with IAM Role, the easiest and simplest way is to use Serverless Dashboard and its Providers feature.
Serverless Provider
If you are attempting to add an existing service to the Serverless Dashboard and want to find out more about adding a Provider, we recommend looking at the Provider specific documentation or skip to the next sections that discusses the recommended configuration of AWS accounts for production use.
If you are new to Serverless and adding credentials for your Serverless Framework service, please continue with the steps below:
- Start by opening your terminal to an empty folder where we will install our first Serverless service.
- Run the command “serverless”.
- You will be prompted to choose a new template. If this is your first time, we recommend choosing the “AWS - Node.js - Starter”.
- When prompted for a name for this new service, you can choose your own name or just leave the default of “aws-node-project”.
- This will create a new folder with the same name as your new service and add some new files to it.
- You will then be prompted to login/register for Serverless Dashboard. Just hit enter to choose the default of Y.
- Your browser window should then open to the login and registration page of Serverless Dashboard. Go ahead and create your account here (Do not worry about creating an org with the right name for now. You can create a new org later to use with the right name).
- Once you are logged into the Dashboard, return the terminal.
- Here you should be prompted regarding AWS Credentials. We recommend choosing the “AWS Access Role” option.
- Once selected this will open your browser once again to the “Add Providers” screen with the “Simple” provider option selected. Click “Connect AWS Provider”.
- This will open a new browser tab to your AWS account and the CloudFormation service. Just accept the defaults and click “Create Stack” at the bottom.
- Once the CloudFormation stack is created, switch back to the terminal tab that will detect the Provider has been created.
- You will then be prompted to deploy. Say “Y” to deploy your first Serverless Framework service.
Note: If you already had AWS credentials on your local machine, the Serverless Framework may have skipped all steps and prompted to do a deployment using those credentials instead of prompting to create a Provider. However, if you just create a provider in your Dashboard account, run “serverless login” and then “serverless deploy” it will use the Dashboard Provider instead.
Production Configuration
While you might be able to get up and running with a single account quickly to try out Serverless Framework, the recommended configuration when setting up a Serverless application is a little different and consists of using multiple AWS accounts.
Management account
Starting off with a single AWS account that is only used as a way to help manage the creation of additional AWS accounts for various purposes. This account will not have anything else deployed to it.
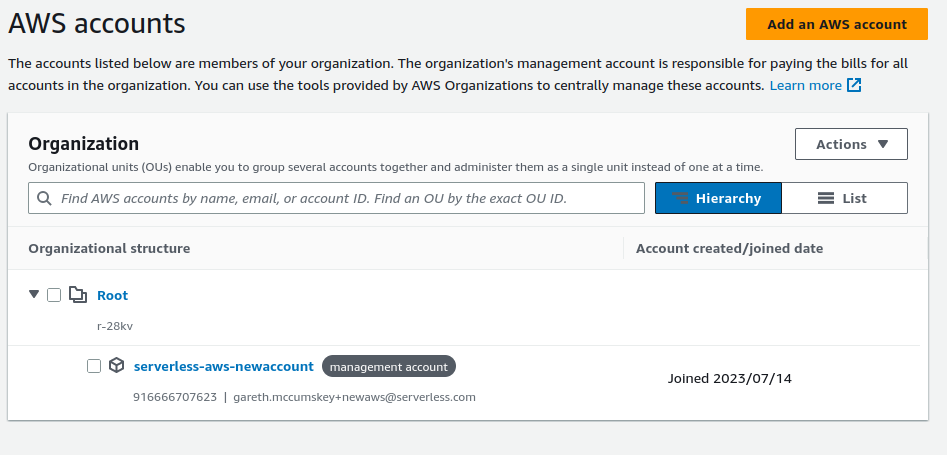
- After creating the initial AWS account, usually using an alias email address for your organization or team, search for the “Organizations” service.
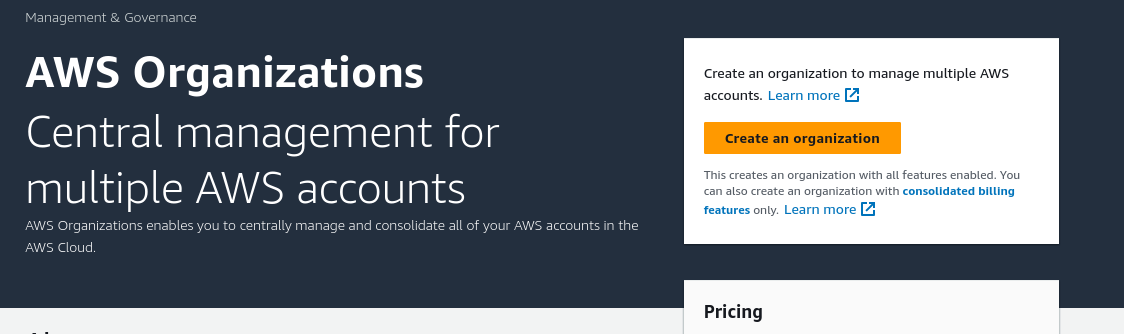
- Click the “Create an Organization” button and you should see the view change and the account you are currently logged in on listed.
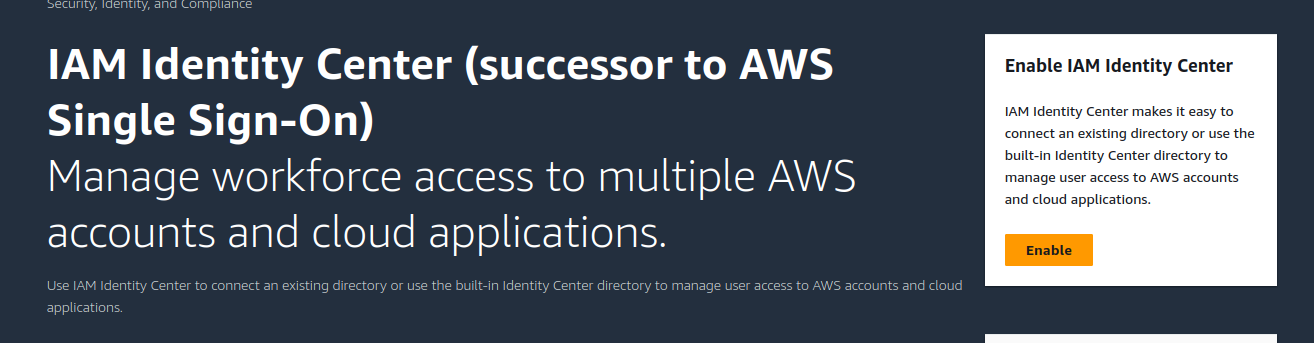
- Search for the IAM identity center service and click “Enable” to activate it for the management service.
 a. You will notice you will now have a unique URL for users to log in with that can be edited later to make it more unique for your use.

- Now we want to create a new user account for you to use from this point on, so click “Users” to the left and then “Add user”. Enter your own email address and all the other details required.
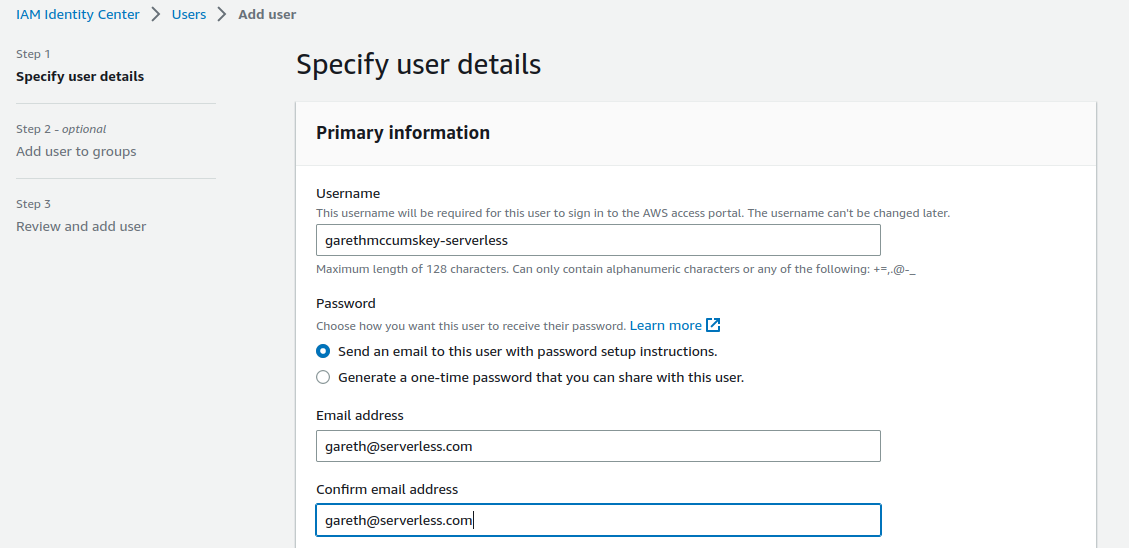
- Do not worry about adding the user to groups for now, just finish using “Next” to review and confirm with “Add user” at the bottom.
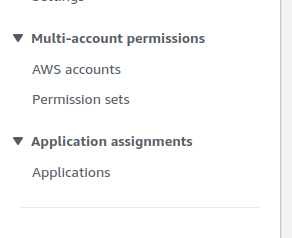
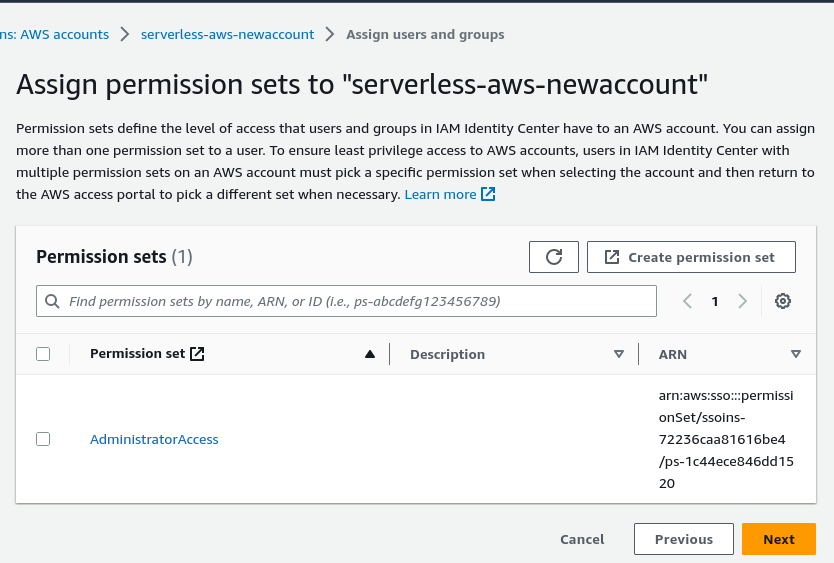
- To setup permissions, click “AWS Accounts” to the left.
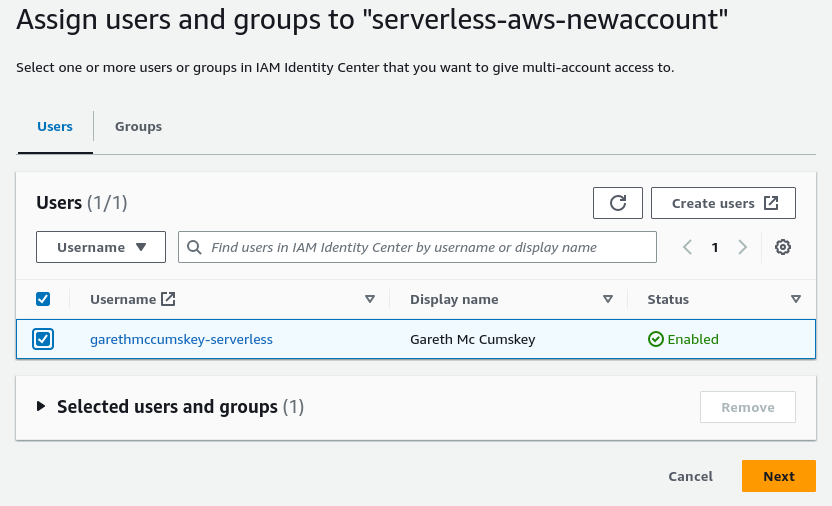
- After ensuring your management account is selected, click on “Assign users or groups”

- Select the “User” tab, check the box next to the user you just created and then “Next”.
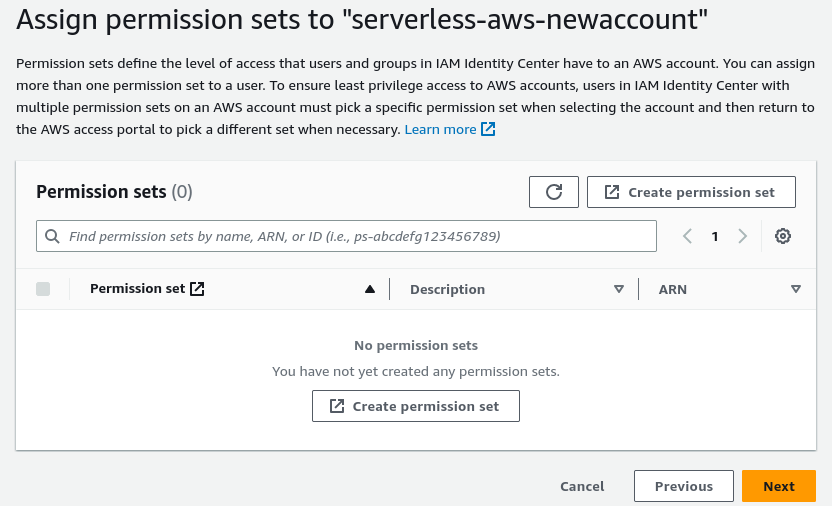
- Click on “Create permission set” so we can assign the right permissions to your user. This will open a new tab.
- For now, we will recommend choosing the default of “AdminstratorAccess” under the “Predefined permissions set”, but this can be changed later if need be.
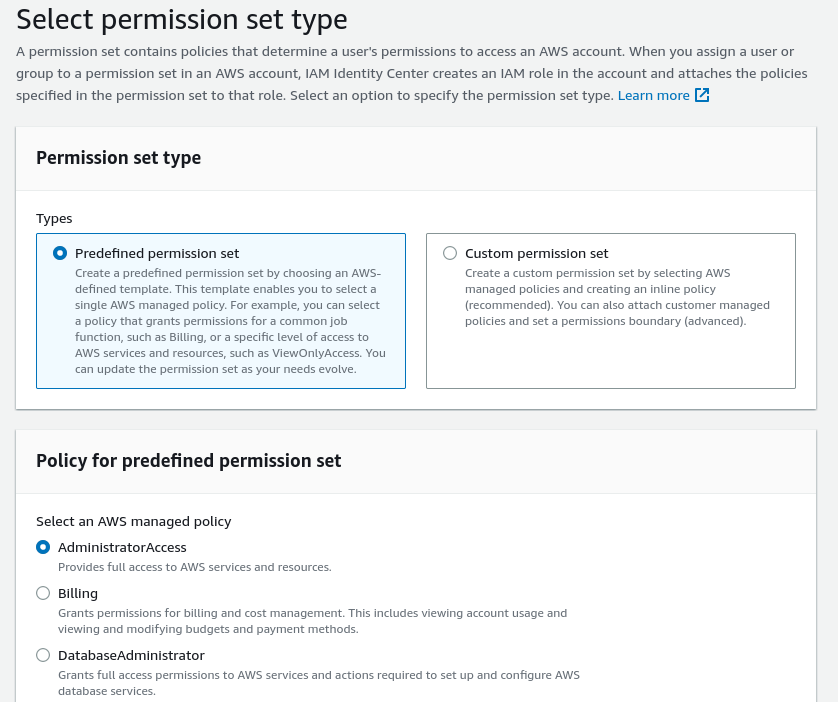
- Choosing how long the session lasts only affects the user when they are logged into the AWS Console and has no impact on the use of Providers when deploying the Serverless Framework so choose any session length you wish. Click “Next” on “Permission set details”, then “Create” on the “Review and create” page.
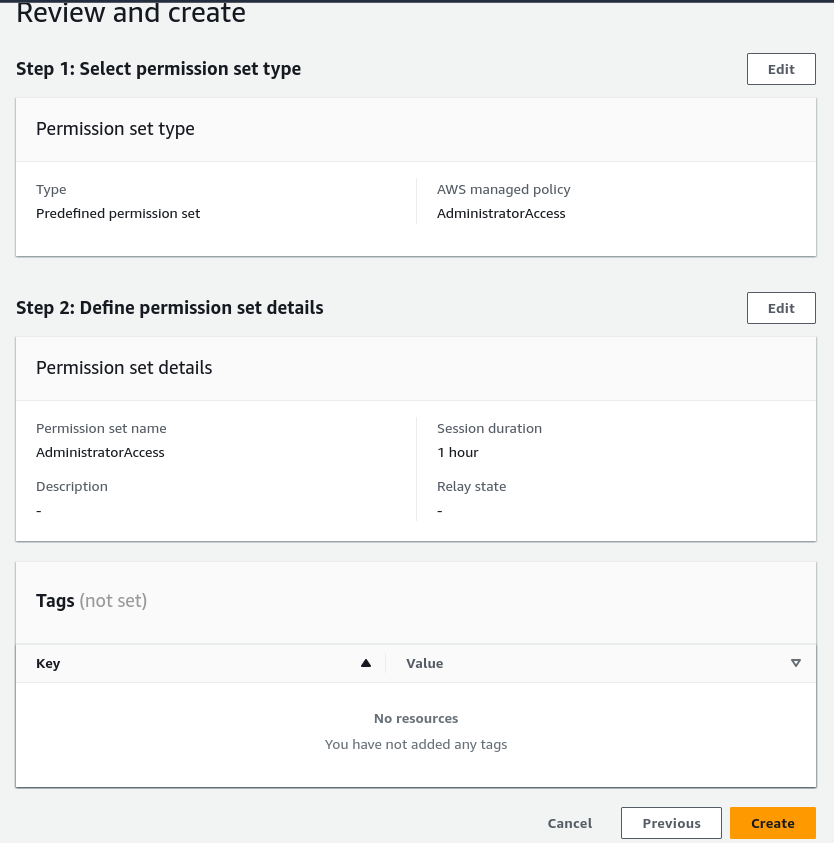
- Now that the permissions set is done, we can close this tab to go back. If you do not see the updated permissions just refresh, then choose AdminstratorAccess, Next and Submit.
You can add additional users in future in this way. You should have also received an email to activate the new account that was created. Just complete the process to sign up the new user account and we are ready to continue.
Stage accounts for production and development
Now that we have the basics done for the management account and at least one user that is not the root user, we likely want to setup additional AWS accounts for production and development. This is done so that we can ensure that developers are not deploying experimental code and changes into the same account where your application is provisioned for use for customers.
- Return the Organizations service and click “Add an AWS Account”
- Try to name the new account uniquely to indicate it is your dev account
- When asked what email address to use, use an alias of some kind as individual user accounts added via the management account will be given access to the new development account.
- When done, click “Create AWS account”
- Repeat this process for a production account as well
You can of course create as many of these accounts as you need, which is why it may even be useful to consider the next section.
Developer accounts
When developing Serverless applications, often developers need to have the ability to deploy changes they have made to a service or to test out a new service. While providing development accounts is great, this may not be enough as there is a risk of overriding work d0ne by others or even causing disruptions to the team.
Using the methods described above, you can create individual AWS account per developer. This provides a good level of isolation, and can be easily managed through the Organizations service as team members are onboarded and offboarded.
Combine with Serverless Provider
Now that the AWS accounts are structured as needed, you can also combine the use of Providers in the Serverless Dashboard as described earlier to create specific connections to those AWS accounts for specific stages.
Providers have their own documentation, which provides a lot more detail.